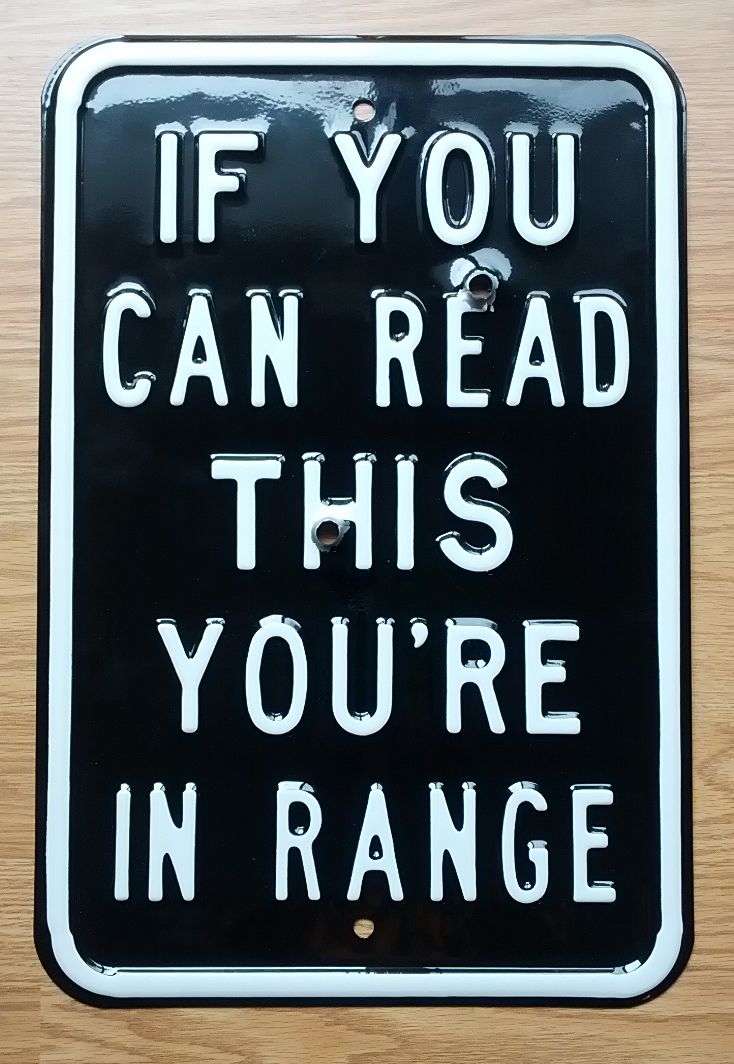
Added a few 9mm holes to the gate sign!
I took a trip to the Virginia mountains with friends and the cabin where we stayed had a shooting range. I brought my 1911 and helped my host out by adding a few 9mm holes to the sign he bought to post on the gate at the road. I wasn’t sure if I’d get any splatter or flying metal, so I shot it at about 10 yards. I have no idea if anyone would take it seriously but it was a fun project!
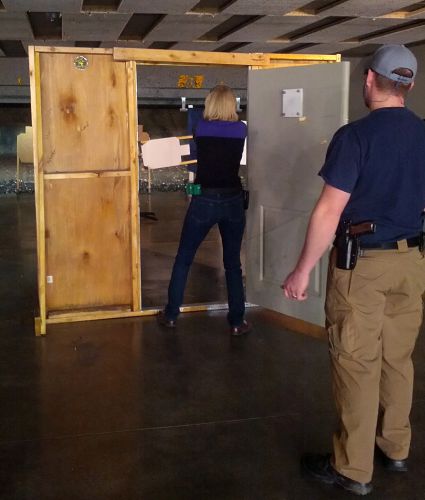
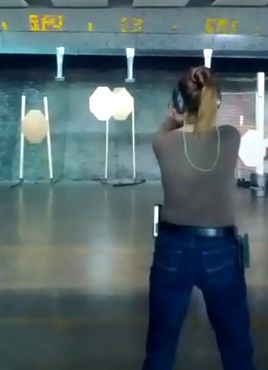
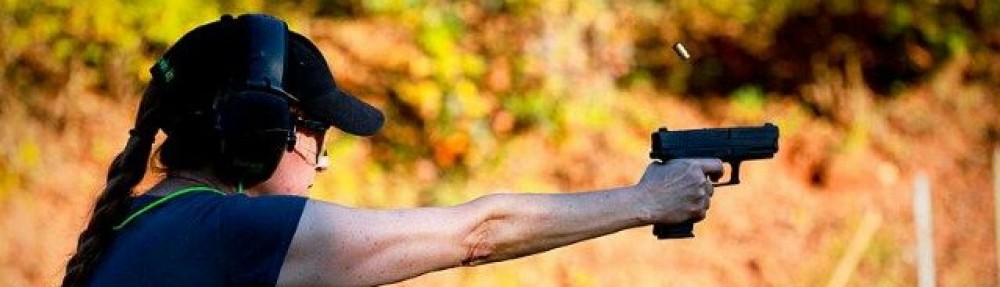
My host has a collection of restraints so I couldn’t resist the opportunity to try shooting in restraints while I was there. I included photos of two of the options I tried shooting with.

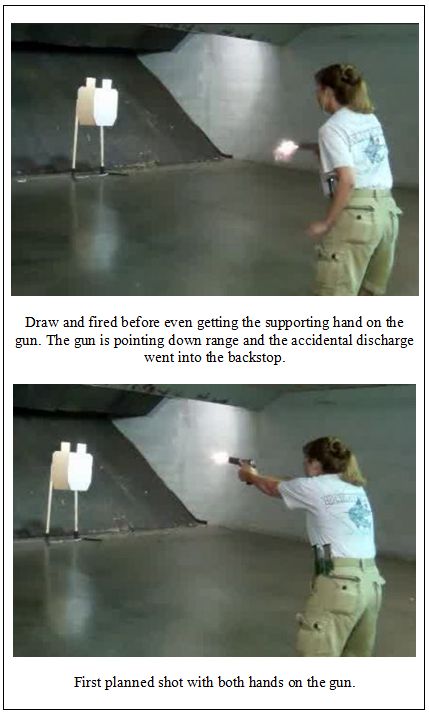
The challenge was the preparation steps: draw the pistol, load the magazine and then rack the slide. I was able to do that in 4 different types of restraints but not without difficulty. In the case of the bracelet restraints, I could only rack the slide if the metal was lined up with my wrist joint. If they slipped down on my arm at all, I could not rack the slide.
I remember hearing that you can rack the slide one handed by hooking it over the heel of your boot, but I decided that trying that for the first time in restraints with a loaded gun wasn’t a good idea. I’ll have to try that later with an unloaded gun. You never know when you may be wounded and down to a single hand in a defensive situation.
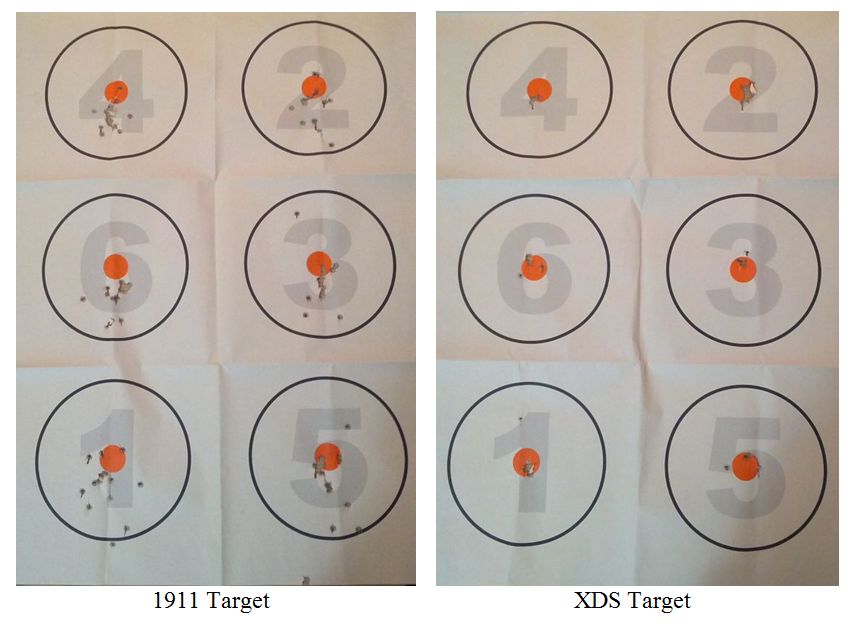
I don’t honestly think I’d ever end up with cuffs and still have my gun handy, but in that far fetched scenario, I know I can shoot and accurately.
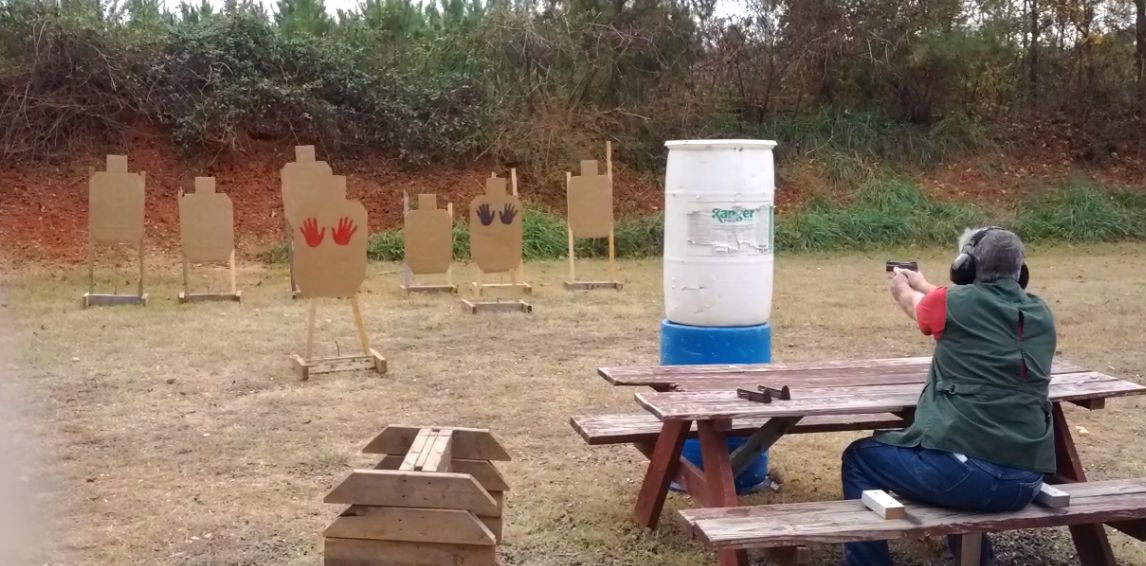
I also tried filming video from the front for the first time. I bought a gorilla tripod for my flip camera. We set it up down range and just let it run. I used VideoPad to clip out the segments that looked like they might be worth sharing. I edited out the “load and make ready” segments because they took way too long. I’m thinking practice would make a difference but I’ll reserve my practice time for more realistic scenarios. So just to make it 100% clear: no one was downrange filming to get these video clips.